 Save
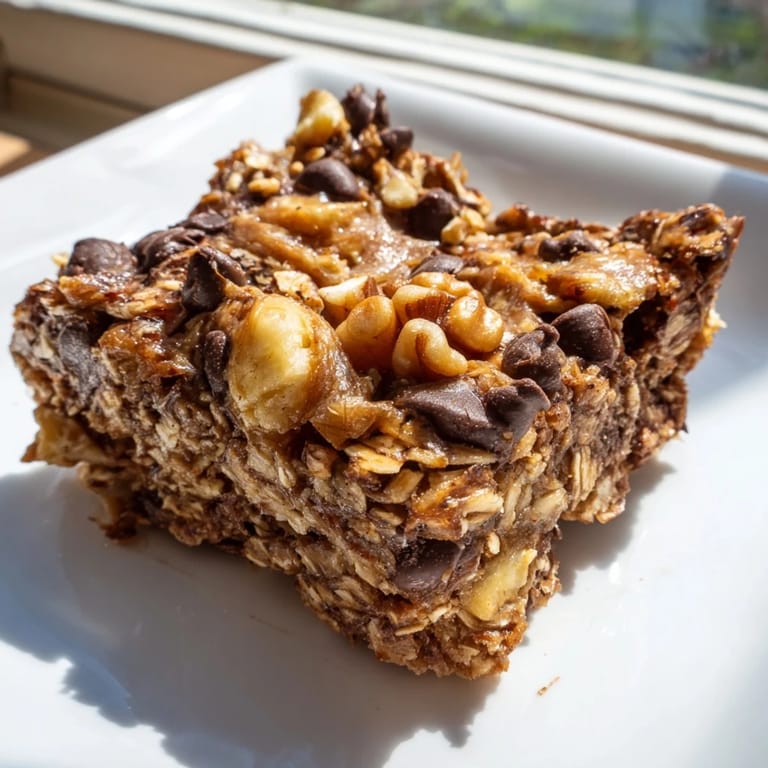
Save I discovered these bars by accident one Tuesday morning when I was running late and had overripe bananas staring at me from the counter. Instead of banana bread, I grabbed a jar of peanut butter, some oats, and decided to see what would happen if I pressed it all together in a pan. Ten minutes later, I had these chewy, wholesome bites that tasted better than anything I'd planned. Now they're my go-to when I need something real—no oven required, just a little patience and a refrigerator.
My neighbor stopped by one afternoon while I was cutting these into squares, and the smell of peanut butter and banana made her pause at the door. She broke off a corner piece right there at my counter, and her whole face changed—the kind of quiet happy that comes from biting into something you didn't expect to be so good. That's when I realized these weren't just snacks. They were the kind of thing people remember.
Ingredients
- Ripe bananas: The darker and softer they are, the sweeter your bars will be—don't fear the spots.
- Creamy peanut butter: The smooth kind works best here because it blends easily, though chunky will give you little surprises.
- Honey or maple syrup: This adds moisture and binds everything together, plus it brings out the natural sweetness of the oats.
- Vanilla extract: Just a teaspoon rounds out the flavors in a way that makes people ask what the secret ingredient is.
- Old-fashioned rolled oats: These are heartier than quick oats and give the bars their chewy texture that doesn't fall apart.
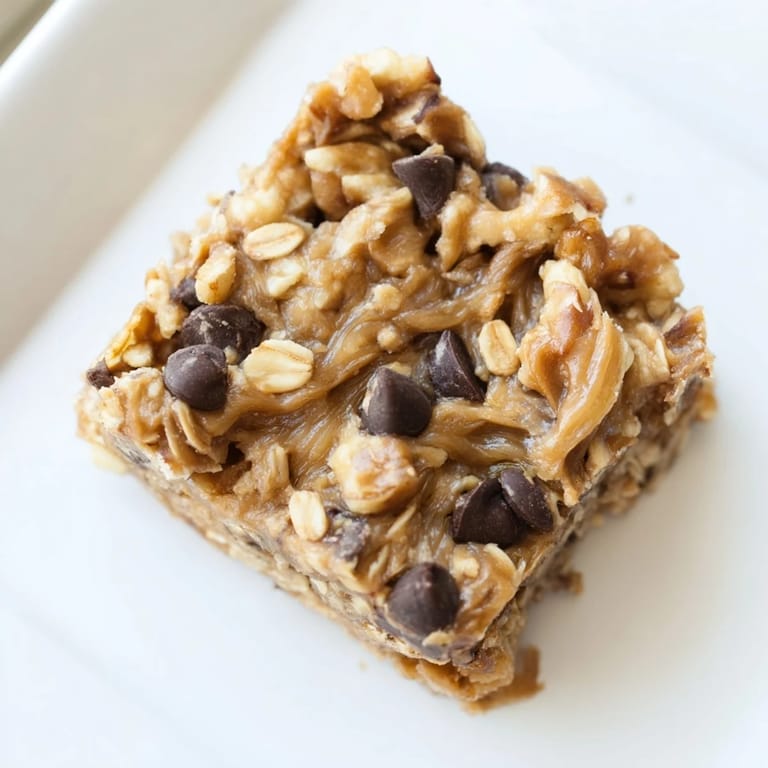
- Optional nuts and chocolate chips: These are where you get to play—add what makes you happy, because this is your snack.
- Salt and cinnamon: A small pinch of each deepens everything and keeps the bars from tasting one-note.
Tired of Takeout? 🥡
Get 10 meals you can make faster than delivery arrives. Seriously.
One email. No spam. Unsubscribe anytime.
Instructions
- Set yourself up for success:
- Line your 8x8-inch pan with parchment paper, letting the edges hang over the sides like a safety net. This is the moment that makes everything that comes next easier.
- Start with the bananas:
- Mash them in a large bowl until they're mostly smooth—a few small lumps are fine and actually add texture. The warmth of your hands will make them easier to work with.
- Build the wet base:
- Stir the peanut butter, honey, and vanilla into the bananas until they're all friends together. The mixture should smell warm and inviting.
- Add the backbone:
- Fold in the oats, salt, cinnamon, and anything else you're adding. Stir until every oat is coated and there are no dry pockets hiding in the bottom.
- Press it into place:
- Transfer everything to your prepared pan and press it down firmly and evenly using the back of a spoon or spatula. Think of it like tucking a blanket—you want it snug but not aggressive.
- Let time do its work:
- Refrigerate for at least an hour until the bars are firm enough to hold their shape when you cut them. Overnight is even better if you can wait.
- Cut and store:
- Use the parchment overhang to lift the whole block out, then slice it into 12 pieces with a sharp, slightly damp knife. Keep them in an airtight container in the fridge where they'll stay fresh for a week.
 Save
Save There's a moment when you first bite into these bars where the peanut butter richness hits you, then the chewiness of the banana and oats, and suddenly you're eating something that feels indulgent and wholesome at the same time. That contradiction is where the magic lives.
Making Them Your Own
The beauty of these bars is that they're a canvas waiting for you to add your own story. I've made them with almond butter on nights when peanut butter felt boring, and they were just as good. My brother swears by adding crispy coconut flakes, and now whenever he visits, that's what I make. There's no wrong answer here—just what tastes right to you in this moment.
Storage and Travel
These bars are built for real life. Wrap them individually in parchment paper and they travel in your bag without crumbling everywhere. I've pulled them out at picnics, desk jobs, and hiking trails, and they always hold up better than anything I grab from a store. They're the snack that makes you feel like you actually planned ahead.
Tweaks That Changed Everything
I've learned a few things through happy accidents that genuinely make these better. Letting the refrigerator do its work for a full 24 hours instead of rushing the 1-hour minimum makes them noticeably better at holding together. Using maple syrup over honey gives them a subtle depth that catches people off guard. And adding a tiny sprinkle of sea salt on top after pressing them into the pan creates this interesting contrast that makes your taste buds sit up and pay attention.
- A slightly damp knife makes cutting cleaner and keeps the bars from crumbling at the edges.
- If you want them a little softer, keep them in the fridge but take them out 5 minutes before eating.
- Double the recipe and freeze half in individual portions for those days when you need something dependable.
 Save
Save These bars are proof that the simplest things—ripe fruit, peanut butter, oats—need nothing fancy to become something you'll want to make again and again. There's freedom in that.
Recipe FAQs
- → Can I substitute peanut butter with another nut butter?
Yes, almond or sunflower seed butter can be used for a different flavor and to accommodate allergies.
- → How long should I chill the bars before slicing?
Chill the mixture in the refrigerator for at least one hour to firm up, making slicing easier.
- → Are there options to make these bars vegan?
Use maple syrup instead of honey and dairy-free chocolate chips to ensure the bars are fully vegan.
- → Can I add dried fruits or nuts to the bars?
Yes, dried cranberries, raisins, chopped walnuts, or pecans can be added to enhance flavor and texture.
- → How should I store the bars for best freshness?
Store the bars in an airtight container in the refrigerator for up to one week to maintain freshness.