 Save
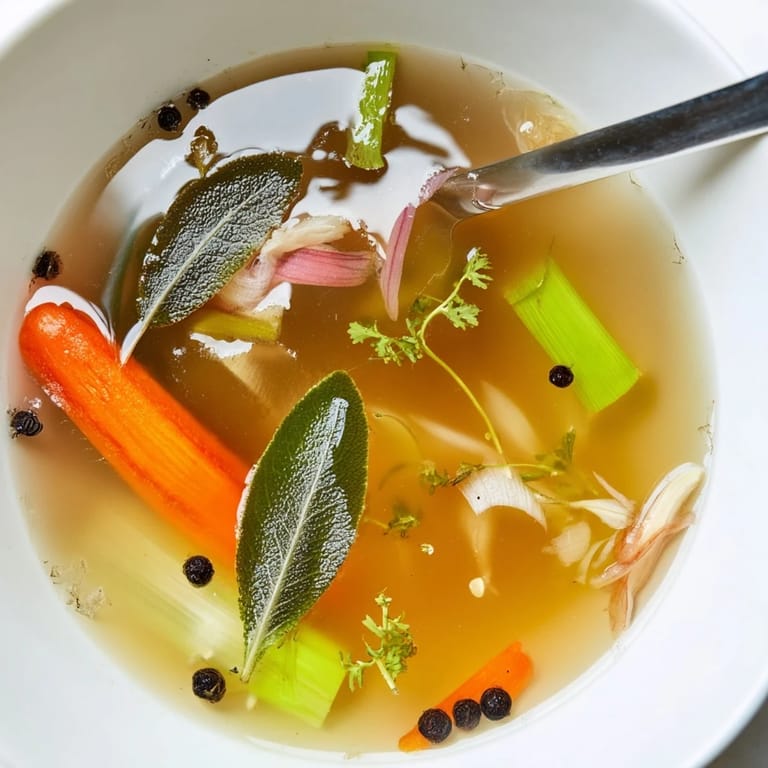
Save My grandmother kept a designated bag in her freezer, not for ice cream or convenience meals, but for carrot peels, onion skins, and celery ends. As a kid I thought it was odd, but now that bag sits in my own freezer, growing fuller throughout the week until there's enough for a batch of broth.
Last winter, during a particularly tight month between paychecks, this broth became the foundation of nearly every meal we made. We served it simply with noodles, used it as the base for hearty bean soups, and even sipped it warm in mugs when the afternoon felt too long.
Ingredients
- Vegetable Scraps: The backbone of your broth, carrot peels, onion skins, celery ends, leek tops, mushroom stems, garlic skins and parsley stems all contribute unique flavors
- Bay Leaves: Add a subtle earthy depth that rounds out the vegetable sweetness
- Black Peppercorns: Whole peppercorns infuse gentle warmth without the harshness of ground pepper
- Garlic: Smashed cloves release their oils more freely into the broth
- Fresh Herbs: Parsley or thyme sprigs add bright aromatic notes that lift the whole batch
- Salt: Essential for drawing out flavors from the vegetables, add gradually and taste as you go
- Cold Water: Starting with cold water allows flavors to extract more slowly and evenly
Tired of Takeout? 🥡
Get 10 meals you can make faster than delivery arrives. Seriously.
One email. No spam. Unsubscribe anytime.
Instructions
- Gather Your Scraps:
- Collect about five to six cups of vegetable trimmings, keeping a storage bag in your freezer until you have enough accumulated
- Combine Everything:
- Place your scraps, bay leaves, peppercorns, garlic if using, and fresh herbs into a large stockpot, then pour in the cold water
- Bring to a Gentle Boil:
- Set the pot over medium-high heat and wait for bubbles to appear around the edges before reducing to a gentle simmer
- Simmer Slowly:
- Let the broth cook uncovered for about one hour, skimming any foam that rises to the surface every so often
- Season and Taste:
- Add salt gradually, tasting as you go, remembering you can always add more but cannot take it away
- Strain Carefully:
- Pour the broth through a fine-mesh sieve or cheesecloth into a large bowl, letting the solids drain completely before discarding them
- Store or Use:
- Cool the broth completely before transferring to airtight containers, refrigerating for up to five days or freezing for three months
 Save
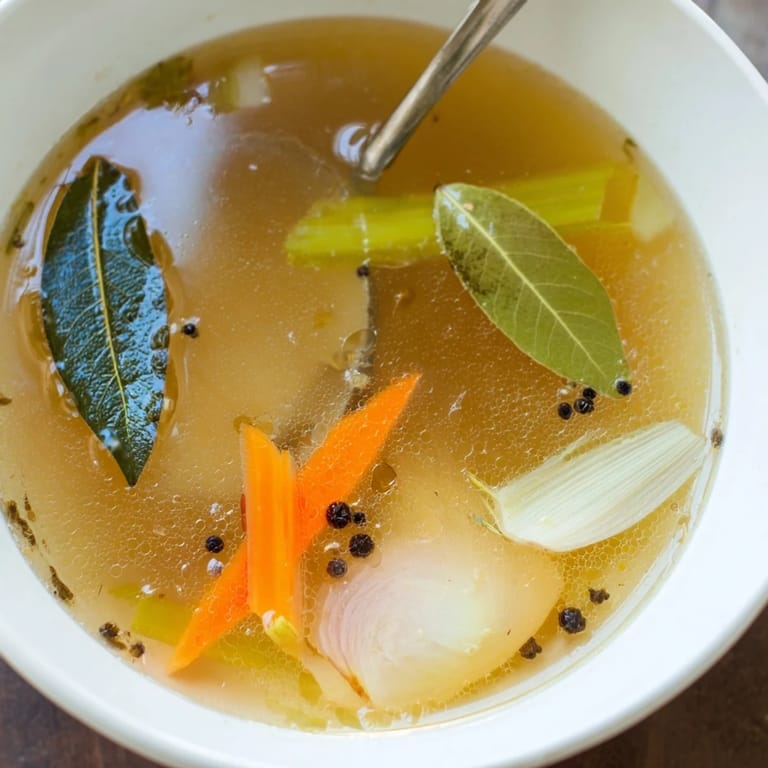
Save Friends who've seen my scrap bag tucked in the freezer have started their own collections, texting me photos of their colorful vegetable trimmings like proud gardeners showing off their harvest.
Building Your Scrap Collection
Keep a gallon-sized freezer bag designated for broth scraps, adding to it throughout the week as you prepare meals. When you peel carrots for a snack, trim celery for soup, or peel onions for a sauce, simply drop the trimmings into the bag.
Deepening the Flavor
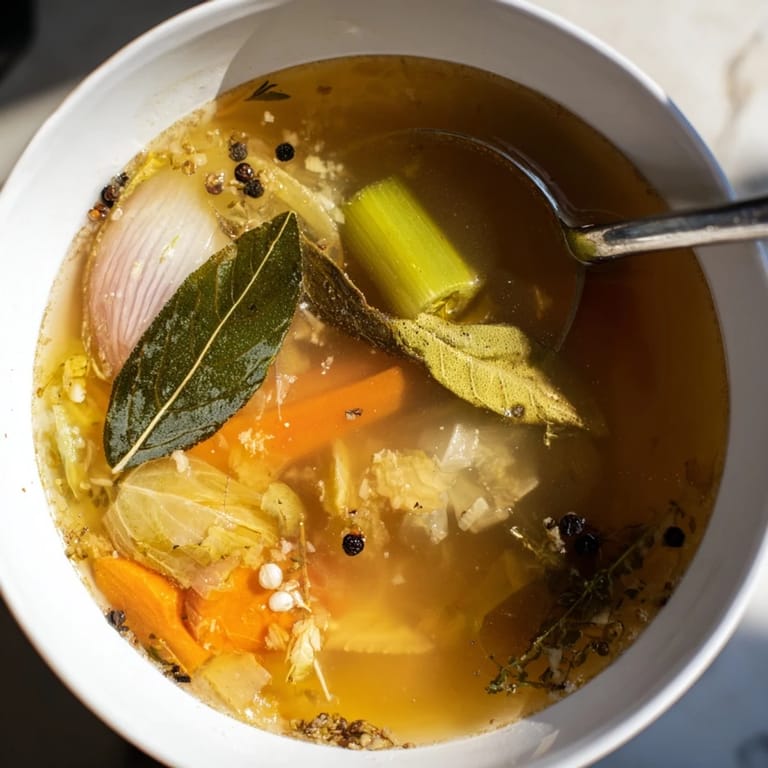
For a richer, more complex broth, consider roasting your vegetable scraps at 400°F for about twenty minutes before adding them to the pot. This caramelization adds depth that mimics the long-simmered quality of traditional stocks.
Making the Most of Your Broth
Use your homemade broth as the base for soups, risottos, and grain dishes, or reduce it further to create a concentrated glaze for sauces. The difference in flavor compared to store-bought versions will be immediately noticeable in everything you make.
- Freeze broth in ice cube trays for small portions that melt quickly into pan sauces
- Label your containers with the date so you can use older batches first
- Use within five days if refrigerated, or freeze for up to three months
 Save
Save There is something deeply satisfying about turning what would have been waste into something that nourishes, a small kitchen alchemy that reminds us that good cooking is as much about resourcefulness as it is about recipes.
Recipe FAQs
- → What vegetables work best for homemade broth?
Carrot peels, onion skins, celery ends, leek tops, mushroom stems, garlic skins, and parsley stems create excellent flavor. Potatoes (peeled) also work well. These aromatics build a robust, balanced base.
- → Why should I avoid broccoli and cabbage?
Cruciferous vegetables like broccoli, cauliflower, Brussels sprouts, and cabbage release bitter compounds during long simmering. This bitterness overpowers the delicate, savory notes desired in a clean-tasting broth.
- → How long can I store homemade broth?
Keep the strained broth in airtight containers in the refrigerator for up to 5 days. For longer storage, freeze in portion-sized containers for up to 3 months. Thaw overnight in the refrigerator before using.
- → Can I use frozen vegetable scraps?
Absolutely. Collect scraps in a freezer bag until you accumulate enough for a batch—typically 5–6 cups. Frozen scraps work just as well as fresh, making this method convenient for zero-waste cooking.
- → What gives the broth more depth?
Whole black peppercorns, bay leaves, fresh parsley or thyme sprigs provide aromatic backbone. For additional umami, add a piece of kombu seaweed or dried shiitake mushrooms during simmering. Salt to taste at the end.
- → Why skim foam while simmering?
Skimming removes impurities and proteins that rise to the surface, resulting in a clearer, cleaner-tasting broth. Simply use a ladle to gently remove the foam that forms during the first 20–30 minutes.