 Save
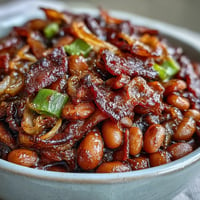
Save There's something almost magical about coming home to the smell of chili that's been simmering all day without you lifting a finger after the initial setup. My slow cooker and I have a standing date on the first truly cold day of autumn, when that chill in the air makes you crave something warm and deeply satisfying. This chili, with its balance of hearty beef, tender beans, and rich spices, has become the recipe I return to again and again, whether I'm feeding a crowd or just myself with enough leftovers to get through the week. It's the kind of dish that tastes even better the next day, when all the flavors have had time to get cozy with each other.
I made this for a group of friends during a surprise snowstorm last winter, and it turned into this unexpected gathering where nobody wanted to leave. The chili was bubbling away in my slow cooker, filling the kitchen with this intoxicating aroma of cumin and smoked paprika, and somehow it felt like the most natural thing in the world to say yes when people asked if they could stay. By the time we ladled it into bowls, the conversation had shifted from weather complaints to stories, and the chili became the backdrop to one of those evenings you don't forget.
Ingredients
- Ground beef (1 lb): The foundation of this chili, browning it first creates a deeper, more complex flavor that makes a real difference, though you can skip this step if you're truly in a rush.
- Onion (1 medium, diced): This softens into almost nothing, adding natural sweetness and body that balances the spices.
- Garlic (2 cloves, minced): Mince it fine so it distributes throughout, giving you little bursts of flavor in each spoonful.
- Red bell pepper (1, diced): Adds a subtle sweetness and color, becoming almost jammy after six hours of slow cooking.
- Kidney beans (1 can, 15 oz, drained and rinsed): Their firm texture holds up beautifully during the long cooking time.
- Black beans (1 can, 15 oz, drained and rinsed): These contribute an earthier note and help create a thicker, more substantial chili.
- Crushed tomatoes (1 can, 28 oz): The bulk of your liquid base; crushed tomatoes give you a better texture than sauce.
- Diced tomatoes (1 can, 15 oz): These keep some of their shape and add texture contrast alongside the crushed tomatoes.
- Beef broth (1 cup): Use a good quality broth if you can; it quietly elevates everything else in the pot.
- Chili powder (2 tbsp): This is the star of the spice lineup, so don't skimp or substitute with generic chili seasoning blends.
- Ground cumin (1 tsp): Adds warmth and earthiness, working in concert with the chili powder.
- Smoked paprika (1 tsp): Even though this chili isn't actually smoked, smoked paprika gives it that depth you'd expect from something slow-cooked.
- Dried oregano (1/2 tsp): A small amount keeps the flavor from becoming one-dimensional.
- Salt and black pepper (1/2 tsp each): You'll likely add more at the end, so start conservative.
- Cayenne pepper (1/4 tsp, optional): If you like heat, add this; it's optional because chili should warm you from the inside, not set your mouth on fire.
Tired of Takeout? 🥡
Get 10 meals you can make faster than delivery arrives. Seriously.
One email. No spam. Unsubscribe anytime.
Instructions
- Brown the beef for depth:
- Heat a skillet over medium and cook the ground beef, breaking it apart with a wooden spoon until it's no longer pink and slightly browned at the edges. Drain off the excess fat, which takes just a minute and pays real dividends in flavor.
- Add everything to the slow cooker:
- Transfer the cooked beef, diced onion, minced garlic, diced bell pepper, both cans of drained beans, crushed and diced tomatoes, and beef broth into your slow cooker. Don't worry about layering or any fancy technique; this isn't that kind of recipe.
- Season generously:
- Sprinkle in the chili powder, cumin, smoked paprika, oregano, salt, black pepper, and cayenne if you're using it. The spices won't distribute themselves, so stir everything together until the broth takes on that warm, rust-colored hue.
- Let it do its work:
- Cover and set to LOW for 6 to 8 hours, or HIGH for 3 to 4 hours if you're short on time. The longer, slower cooking develops a more rounded flavor, but honestly either way works.
- Taste and adjust:
- After cooking, taste a spoonful and season as needed, adding more salt, pepper, or spices depending on what you're craving. This is where you make it your own.
- Serve with joy:
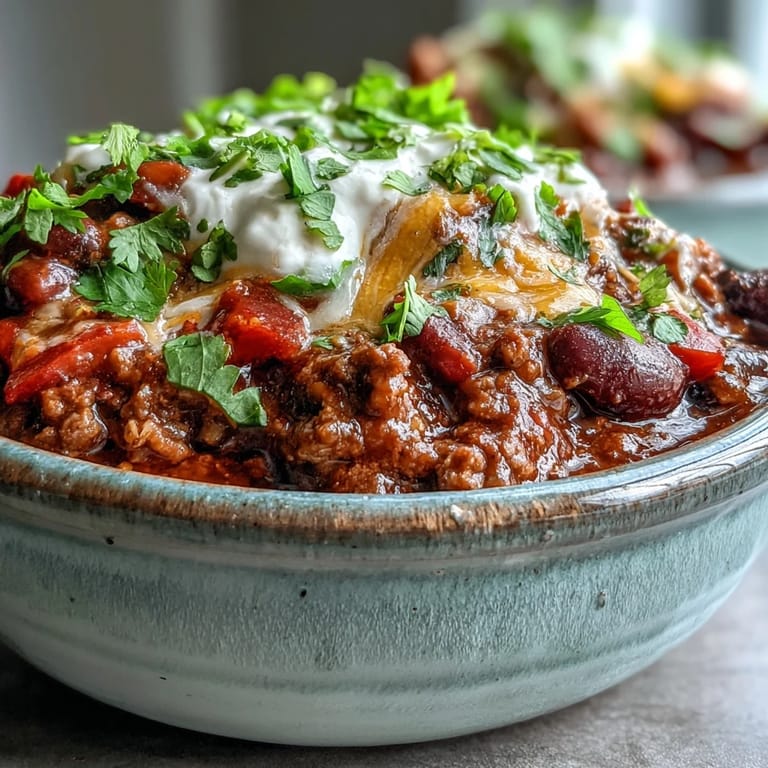
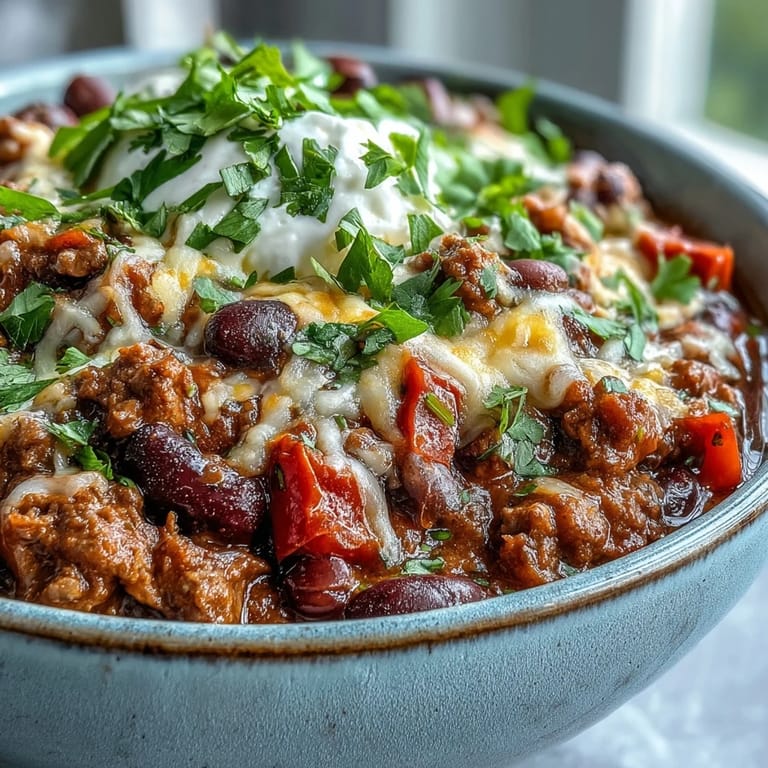
- Ladle into bowls and top with whatever calls to you—shredded cheese, a dollop of sour cream, chopped green onions, or fresh cilantro. Or eat it straight from the bowl because you're hungry and it's good.
 Save
Save My neighbor once knocked on my door asking if I was cooking something incredible because the smell was drifting over from my kitchen and making her rethink her evening plans. That's when I knew this chili wasn't just good; it was the kind of food that makes people want to be around you, even uninvited.
The Case for Browning Your Meat
I know the appeal of the true dump-and-go is tempting, and yes, you can technically throw everything raw into the slow cooker and walk away. But spending five minutes browning that ground beef changes the entire character of the chili—you're building what cooks call the Maillard reaction, which is just a fancy way of saying you're creating deep, savory flavors that can't happen if you skip this step. The beef gains a slightly crispy edge that adds texture and complexity, making the finished chili taste like it took you all day instead of just appearing in your slow cooker.
Making It Your Own
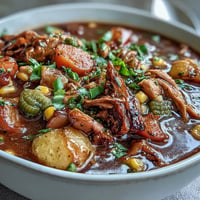
This recipe is a template more than a strict formula, and I've learned that the best chili is the one that reflects what you actually want to eat. Some seasons I add a chipotle pepper in adobo sauce for that smoky, slightly spicy kick; other times I throw in corn or a splash of cocoa powder if I'm feeling adventurous. The spice ratios can shift depending on whether you're cooking for people who like gentle warmth or those who eat habaneros for fun—taste as you go and let your own preferences guide you.
Storage and Stretching Your Batch
There's real wisdom in making chili in quantities that outlast the day you cook it, because this dish genuinely improves overnight as the flavors settle and deepen. I've learned to divide my batch into individual portions in the freezer, which means on nights when I haven't planned dinner, I have something better than takeout waiting for me. It's also endlessly flexible—leftover chili becomes chili mac and cheese, or gets ladled over rice, or topped with cornbread, or eaten straight from the container while standing at the kitchen counter at midnight because you're hungry and it's still perfect.
- Freeze in portions: Use individual containers or freezer bags so you can thaw exactly what you need.
- It lasts three months in the freezer: Though honestly it rarely makes it that long in my house.
- Let it cool completely before freezing: This prevents condensation and keeps your freezer from becoming a humid mess.
 Save
Save This chili has fed me through winter mornings, unexpected guests, and quiet nights when I just needed something warm and forgiving. It's the kind of recipe that proves the best food doesn't have to be complicated.
Recipe FAQs
- → Can I make this without browning the meat first?
Yes, you can skip browning the ground beef for a true dump-and-go method. Just add the raw beef directly to the slow cooker with everything else. However, browning first adds extra depth and flavor to the final dish.
- → How spicy is this chili?
This version has mild to medium heat from the chili powder and optional cayenne. Adjust the spice level by reducing or increasing the cayenne pepper, or adding more chili powder to taste. The smoked paprika adds flavor without much heat.
- → Can I make this vegetarian?
Absolutely. Simply omit the ground beef and add an extra can of beans or some corn kernels. Consider adding a vegetarian meat substitute or extra vegetables like zucchini or mushrooms for texture and substance.
- → What toppings go well with this chili?
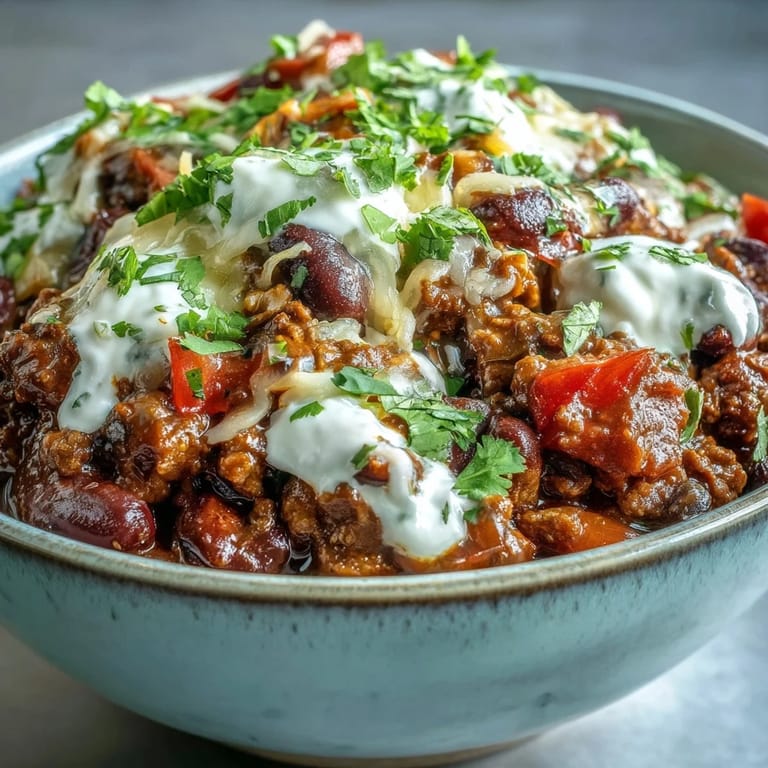
Classic toppings include shredded cheese, sour cream, chopped green onions, and fresh cilantro. You can also add crushed saltine crackers, cornbread, avocado slices, jalapeños, or a squeeze of fresh lime juice.
- → How long do leftovers last in the fridge?
Leftovers keep well in the refrigerator for 4-5 days in an airtight container. The flavors often develop and improve after a day or two. You can also freeze portions for up to 3 months for easy future meals.
- → Can I cook this on HIGH instead of LOW?
Yes, cook on HIGH for 3-4 hours instead of LOW for 6-8 hours. The longer cooking time on LOW tends to develop deeper flavors and more tender textures, but both methods work well when you're short on time.